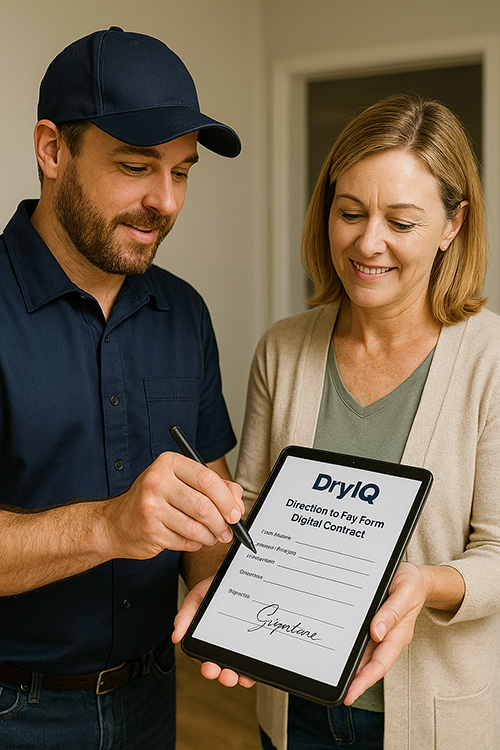
Instructions For The Document Are Below:
What the Direction to Pay form is (for Insurance Claims)
The Direction to Pay (DTP) is a short authorization that lets the insurance company pay the Contractor directly, and, if applicable, the Mortgage Company. It also confirms that if the insureds’ names appear on a check, they will promptly endorse the check to the Mortgage Company or deposit it in an escrow account acceptable to the Contractor. The form supports staged draws so funds can be released as work progresses (e.g., mitigation start, 50% completion, substantial completion). It’s an administrative document that speeds up payment—it does not change the policy or transfer benefits.
When to use it
- A claim is open and the customer has authorized your company to perform work.
- The insurer issues joint checks (e.g., to insureds and Mortgage Company) or when direct payment to Contractor is needed to avoid delays.
- The job will be paid in draws (staged payments).
Do not use the DTP to bypass lender or insurer requirements. If the bank has its own loss‑draft process, collect those instructions and attach them to the job file.
What the form captures (and why)
- Insurance Company and Contractor names – tells the carrier who to pay and where.
- Mortgage Company (if any) – reflects joint‑payee routing needs.
- Loss Address & Contact Phone – ties the authorization to the job site and a contact.
- Series of Draws – sets planned payment stages to match progress.
- Signing Details (place & date) – “Signed at … this ___ day of ___, 20___” establishes venue/time.
- Owner(s) Name(s) + Signatures and Contractor Rep signature – evidentiary completion.
This complements the documentation style of your Release of Liability (clear roles, dates, signatures).
Step‑by‑step student workflow
-
Prepare
- Confirm claim is open and the Contractor name matches your job file.
- If a Mortgage Company exists, identify its loss‑draft department and special requirements (escrow, inspections, etc.).
- Decide the draw schedule (e.g., mitigation start / 50% / substantial completion).
-
Explain to the customer (plain language)
“This form tells your insurer to pay our company directly (and your Mortgage Company if required). If your names appear on a check, you agree to endorse it promptly or deposit it into an approved escrow so we can move forward without delays.”
-
Complete the fields
- Fill Insurance Company, Contractor, Mortgage Company (if any), Loss Address, Phone, Document Date.
- In Series of Draws, write the stages clearly (use milestone language).
-
Signing details
- Enter Signed at (City/State) and Sign Date.
- Ensure Owner/Authorized Agent prints name and signs; collect Contractor Rep signature and dates.
-
Finalize & archive
- Click Finalize & Preview in the digital form → review for accuracy.
- Click Print / Save as PDF to create a job‑file copy.
- (Optional) Download JSON Record to retain structured data and embedded signature images.
-
Notify the adjuster/bank (if required)
Provide the PDF to the adjuster and, if needed, to the Mortgage Company loss‑draft department with any draw schedule or inspection notes.

