Instructions For the Tool Are Below:
💬 How to Use the AI Chat in Moisture Mapper (Click to Toggle)
IRI DryIQ Water Restoration: Inspection, Sketching, and Reporting Tool
Overview
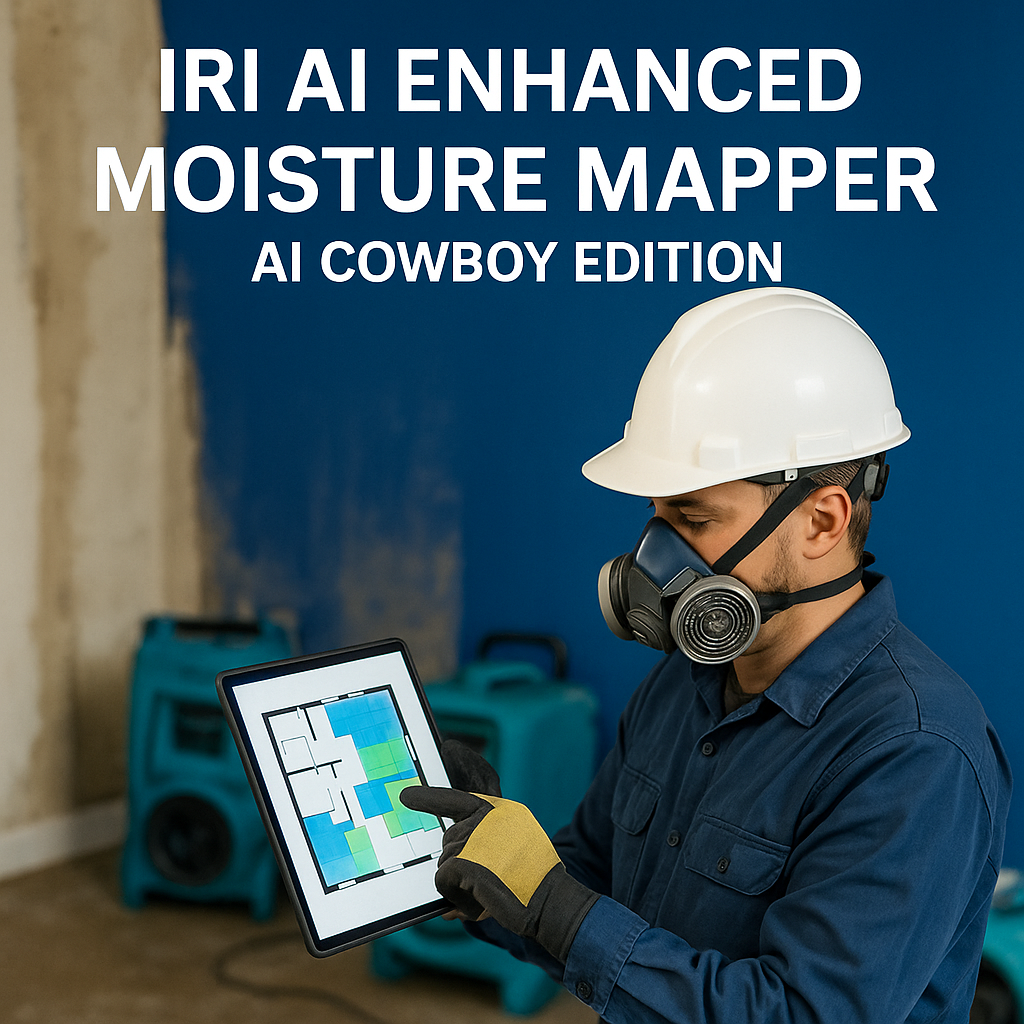
The DryIQ Water Restoration Inspection, Sketching, and Reporting Tool is an advanced, AI-assisted field application designed by IRI. It allows you to inspect, sketch, and generate reports in real time to document water losses with accuracy and efficiency.
What You Can Do with the Tool
- Sketch structures: draw walls, doors, windows, rooms, pins, and equipment placements.
- Add field data: record MC%, RH, GPP, and temperature readings using pins.
- Manage layers: toggle visibility of walls, rooms, equipment, and annotations.
- Use calculators: built-in psychrometric and electrical calculators for real-time decisions.
- Complete forms: access IRI digital documents such as Safety Plans, Pack-Outs, Logs, and Work Authorizations.
- Collect signatures: technician and customer signature pads included.
- Export reports: generate professional multi-page drying documentation reports.
How to Use
- Launch the tool inside this website.
- Select tools from the top navigation (Select, Wall, Door, Window, Pin, Room Label, Equip, Pan).
- Sketch the jobsite with walls, openings, labels, and equipment.
- Record data with pins for readings (MC%, RH, GPP, Temp).
- Open footer menus for calculators, forms, Layers & Legend, or Properties.
- Save or export work as JSON, CSV, PNG, or PDF drying report.
- Submit your sketch and report for the module assignment.
Expectations
You will create at least one complete moisture map sketch of a simulated loss. Your final report must include:
- At least one room labeled and measured.
- Sample moisture pins with readings.
- At least two pieces of equipment placed.
- Both technician and customer signatures (practice signatures are fine).
Tips for Success
- Practice using the Pan tool and zoom controls.
- Use Layers & Legend to keep your sketch clean.
- Ask DryIQ AI in the footer for scenario help or psychrometric guidance.
- Save often by exporting Project Save JSON files.
- Remember: your report is only as strong as the data you enter.
This tool is your digital jobsite notebook — practice with it now, so you are ready to apply it in real restoration projects and disaster responses.

